Lubricity

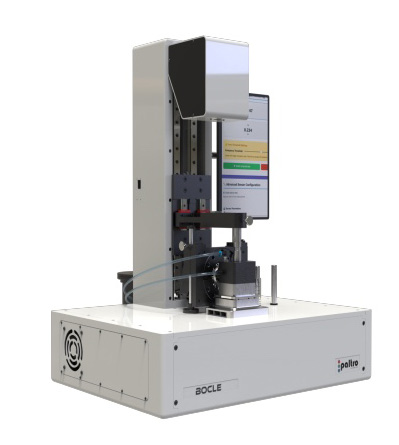
Ball on Cylinder Lubricity Evaluator
BOCLE 2.0
Paltro Ball on Cylinder Lubricity Evaluator (BOCLE 2.0) is a
compact, fully automated desktop instrument for ASTM
D5001 to assess wear aspects of the boundary
lubrication properties of aviation turbine fuels on
rubbing steel surfaces.
Features
- Fully automated loading, includes unique hybrid
loading system - Microprocessor based system controls for all
instrument functions - Automatic control of test sequences, flow rate and
conditioned air to reduce operator induced
variability in test results - PC based control and test sequence software
included - Pre-programmed ASTM D5001 test sequence for
standardized tests - Intuitive user interface with plug-and-play
functionality

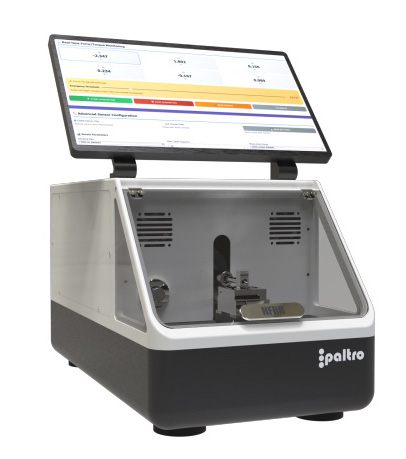
High Frequency Reciprocating Rig (HFRR)
Paltro’s next generation High Frequency Reciprocating Rig (HFRRA0v) is a compact, fully automated desktop instrument for ASTM D6079, ISO 12156 and ASTM D7688 to assess lubricity of diesel fuels and biodiesel blends.
HFRRadv offers an ultra compact, state of the art fuel lubricity tester that is designed for full compliance with global test standards. Its compact and easy to use design, automated workflow simplifies testing and the high precision automated humidity control system eliminates manual activities by the operator.
Features
- Ultra-compact, fully integrated design with HFRR vibrator, electronics control[er, automatic humidity control module in a single unit offering the smallest footprint and lab space requirement.
- Integrated PC with touchscreen allows test execution with a few clicks
- Fully automated workflow manages the entire sequence, from testing and imaging to measurement and report generation for effortless operation.
- Auto-detect function powered by Al and ML algorithms precisely measures wear scar diameter without user dependency.
- Clean, salt-free humidity that is electronically controlled requires only distilled water. Air temperature and humidity are measured and recorded for the entire test duration.
- Real-time stroke length acquisition during the test with inline sensor makes electronic calibration effortless.

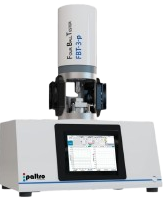
4 Ball Tester
The four-ball test is a fast, repeatable and an accurate way to test lubricants for their wear preventive, extreme pressure and frictional properties. With high levels of automation, the FBT-3-p makes this test easy to run. Its simple interface hides powerful features and technologies.
For Product and Sales Information Contact Us Today
sales@choiceanalytical.com or 832-271-7448
